Update History:
- 2017-Feb-09: Initial publication
- 2019-Mar-12: Include mentions for coverage of Windows Server 2019 and ARM64 architectures
- 2022-Feb-09: Include mentions for coverage of Windows Server 2022 and Windows 11
This guide applies to:
- Windows Desktop / Workstation Editions 7, 8, 81, 10, and 11
- Windows Server Editions 2008 R2, 2012, 2012 R2, 2016, 2019, and 2022
It is intended for environments where the printer is connected to the network, has either a fixed LAN IP address or a DHCP reservation, and is accessible by the target Windows systems. It is assumed that the printer has been freshly setup on the network but not yet installed or configured on any target workstation or servers.
Download and install drivers:
Identify and download the correct drivers for your make & model of printer. Ideally, you want to download the basic / standard drivers and not the full driver package installers. The ideal drivers may be identified as PCL, PS (PostScript), or WHQL drivers.
Typically, there will be multiple drivers – a listed set of drivers for multiple versions of Windows. Typically, most manufacturers will have the exact same driver files that cover many generations of Windows – eg: a driver written for Windows 7 will almost always work on Windows 10, or Server 2019, and Server 2008 R2.
Typically, the only differences in the drivers are:
- Architecture (as in Windows 32-bit, Windows 64-bit, Windows Itanium, and more recently, ARM64.
- The drivers communication protocol when communicating with the printer – this is how the computer talks to the printer, so PCL, PS, KX, etc…
You need to be aware of what communication protocol is supported by the printer. By default, FujiXerox DocuCentre machines don’t support PostScript (PS) out of the box, and require installation of additional optional hardware. If you’re looking to set one of these machines up on any Macs, get the PostScript card when ordering (cheaper at time of order than it is after the fact). Most printers will happily work using standard PCL drivers. Note: If you’re deploying Kyocera ECOSYS machines, aim for their KX drivers.
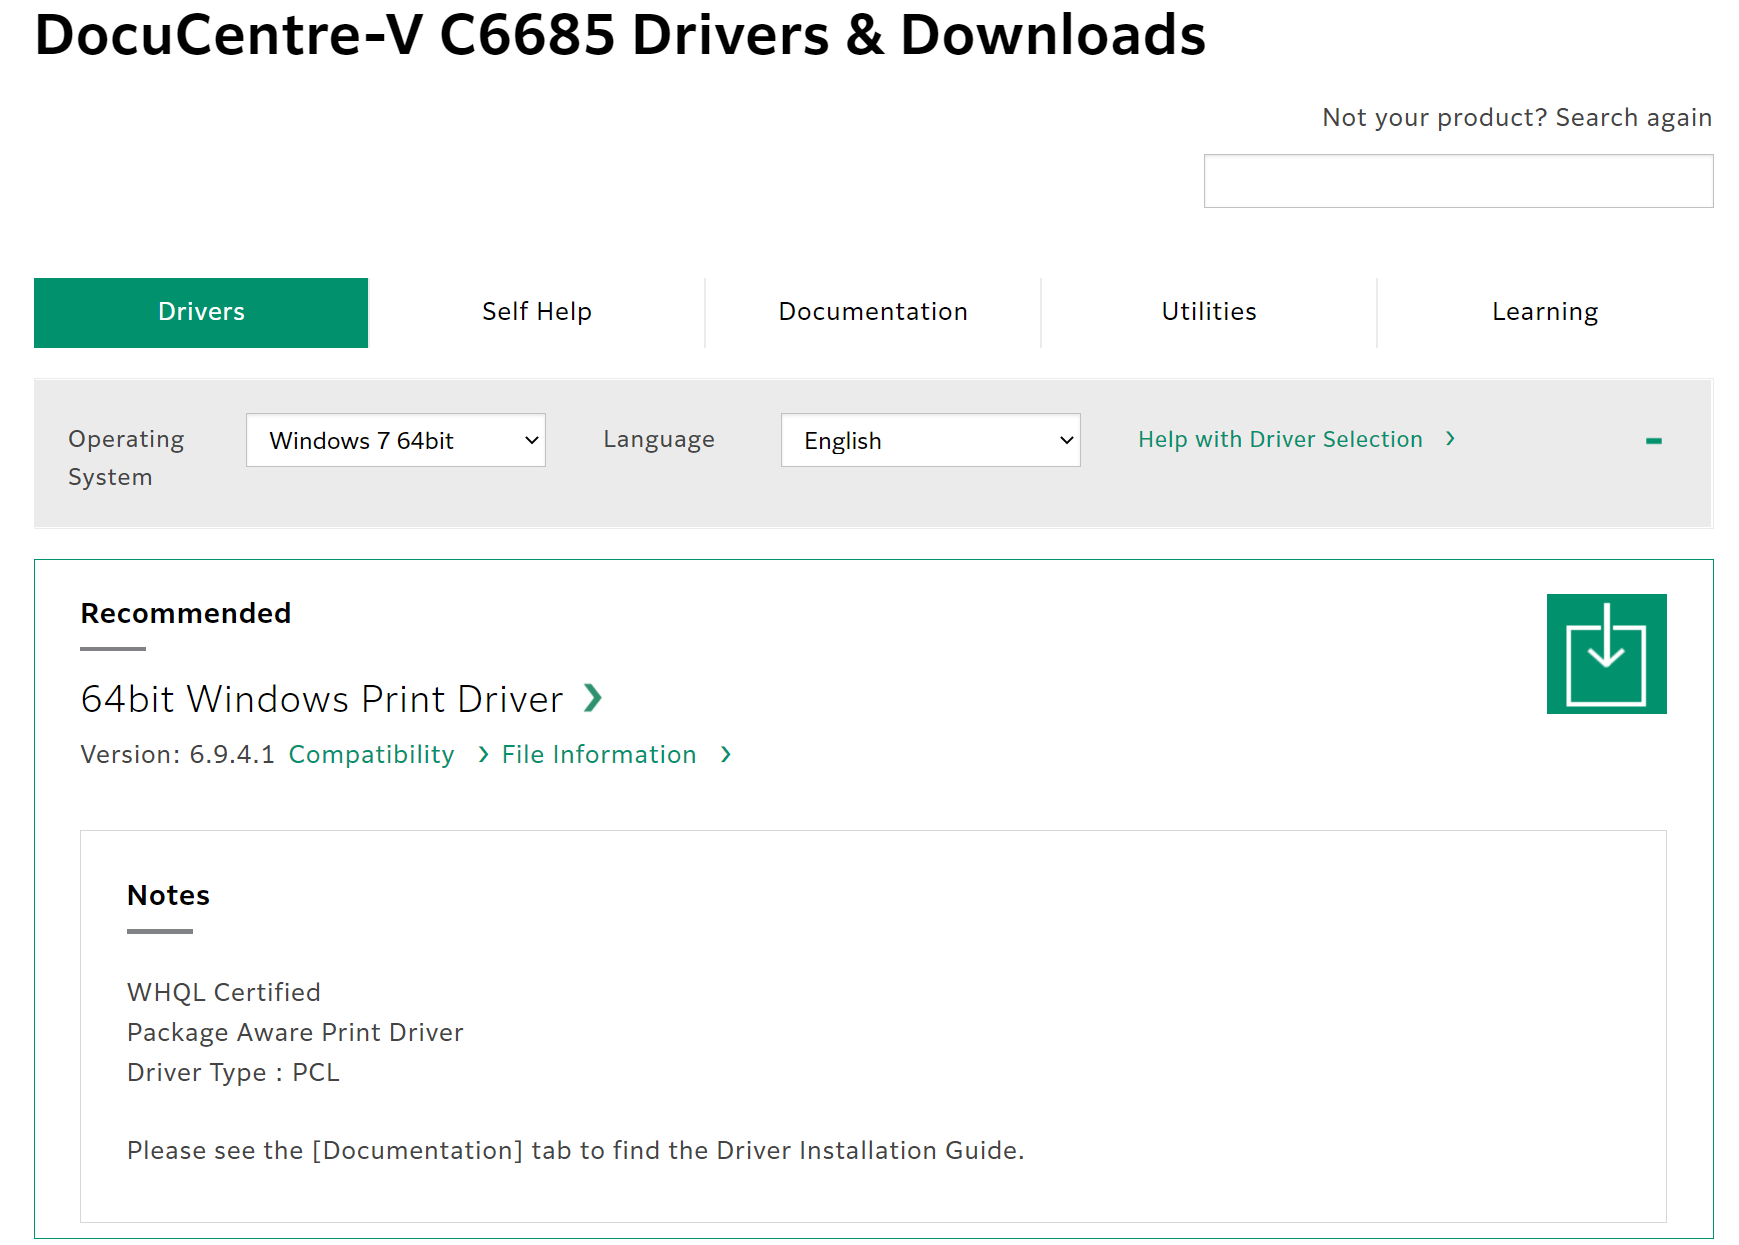
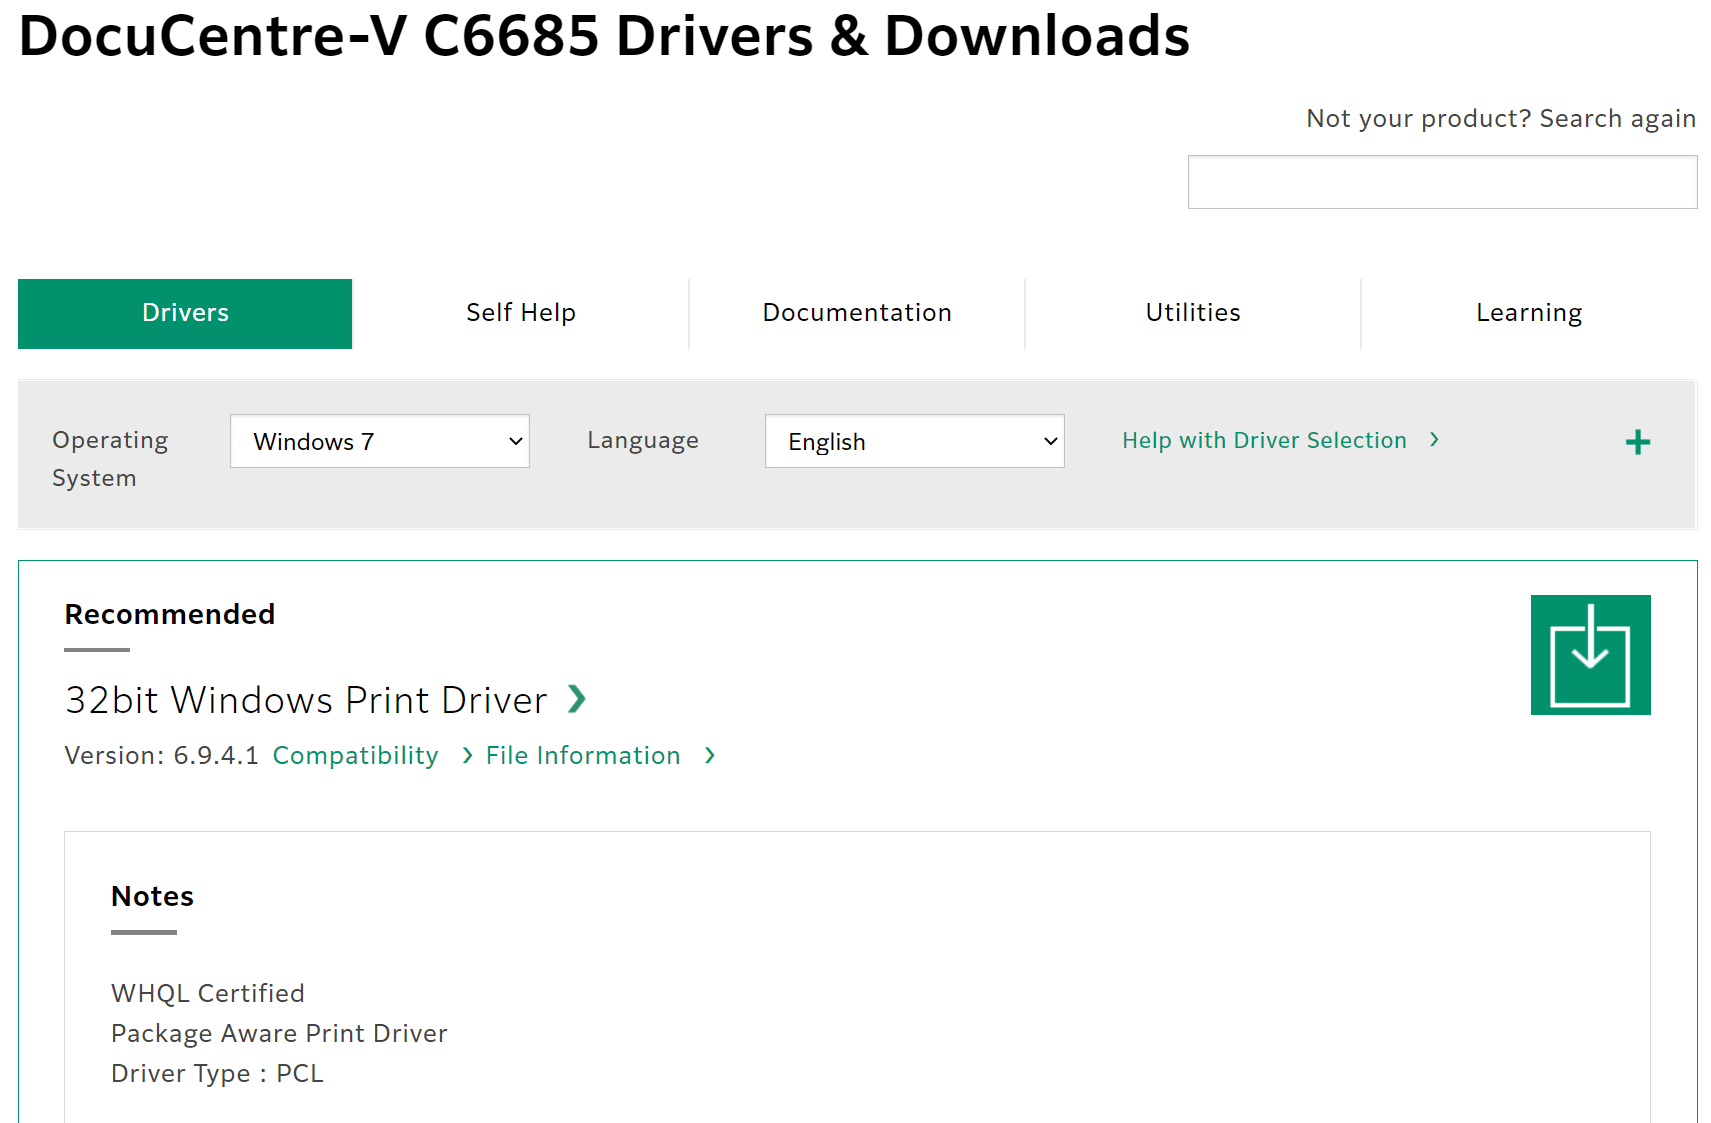
When downloading the drivers for deployment on a Windows server for sharing out to the networked Windows clients, opt to download both the 64bit and 32bit drivers of the same version number or release date, and if available, also the ARM64 drivers. When they are installed and made available to client systems using these different architectures, the user won’t have to go hunting to find drivers, as Windows will supply them to the connecting client during the printer installation.
Note here, we are downloading both the Windows 7 64 bit and Windows 7 (aka 32 bit) drivers for deployment:
Windows 7 (32 bit):
Once the drivers have been downloaded, extract them into their own sub folders. The may come as a ZIP file or as a self-extracting application. If the latter, when prompted to commence installation, cancel these operations – you just want the extracted driver files. Take note of where you have extracted them to. Pro-tip: place them in a ClientApps share so they can be accessed over the network at a later date it required.
Open the Control Panel (not Settings) and change the view mode from Category to Small Icons (or Large Icons if your eyes don’t work).
![]()
Click on Devices and Printers
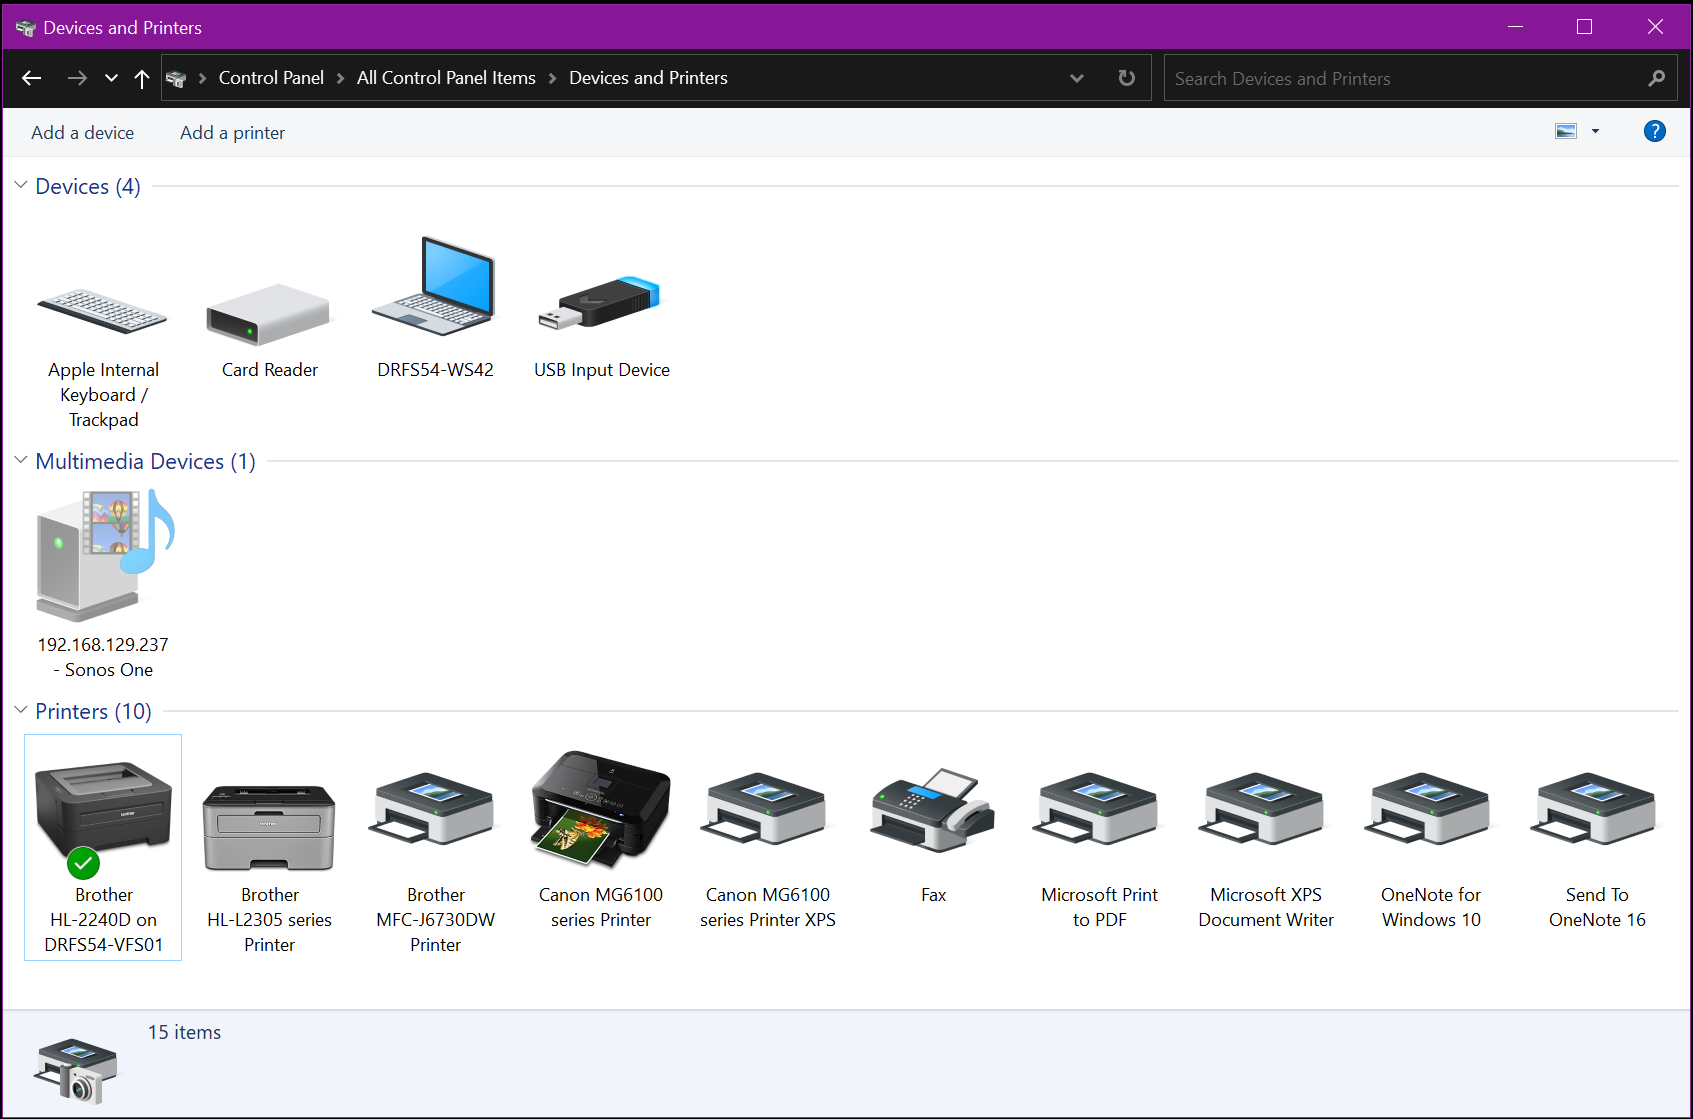
Click on Add Printer in the toolbar
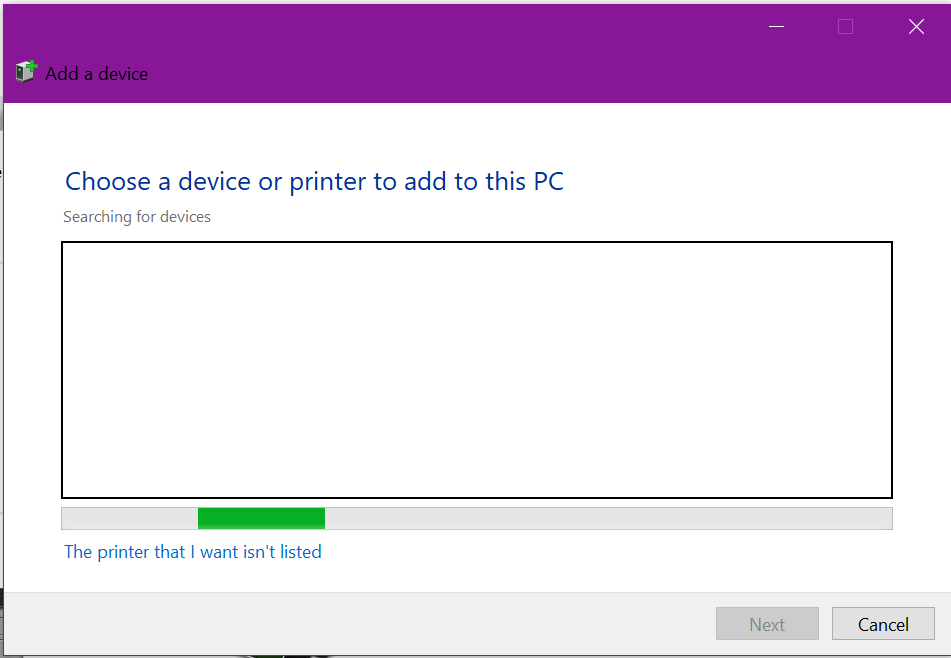
When Windows is scanning for printers, click on “The printer that I want isn’t listed”
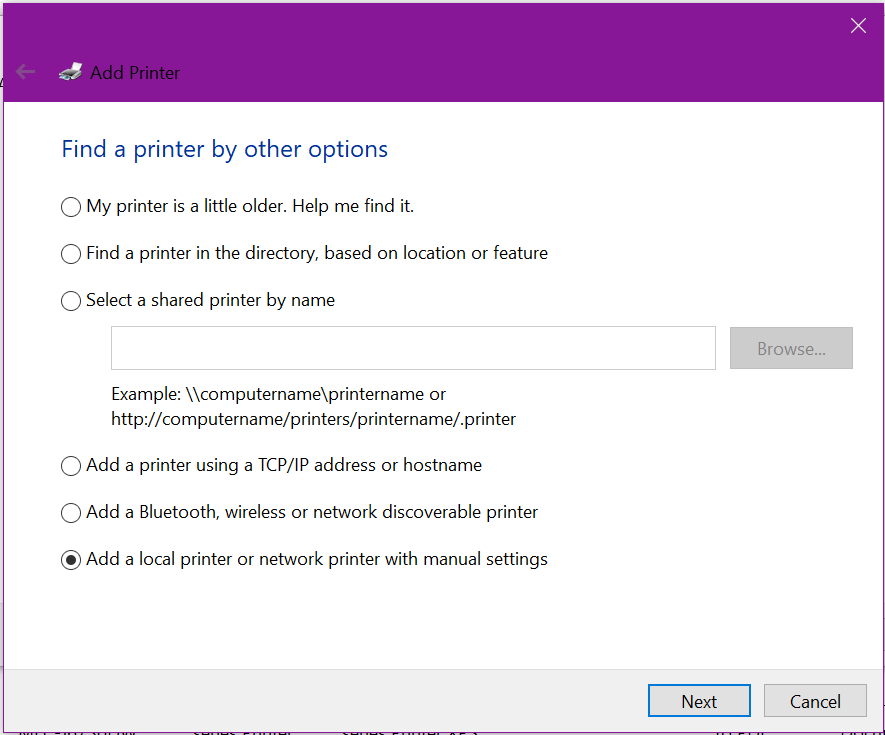
When prompted, select the option to Add a local or network printer with manual settings:
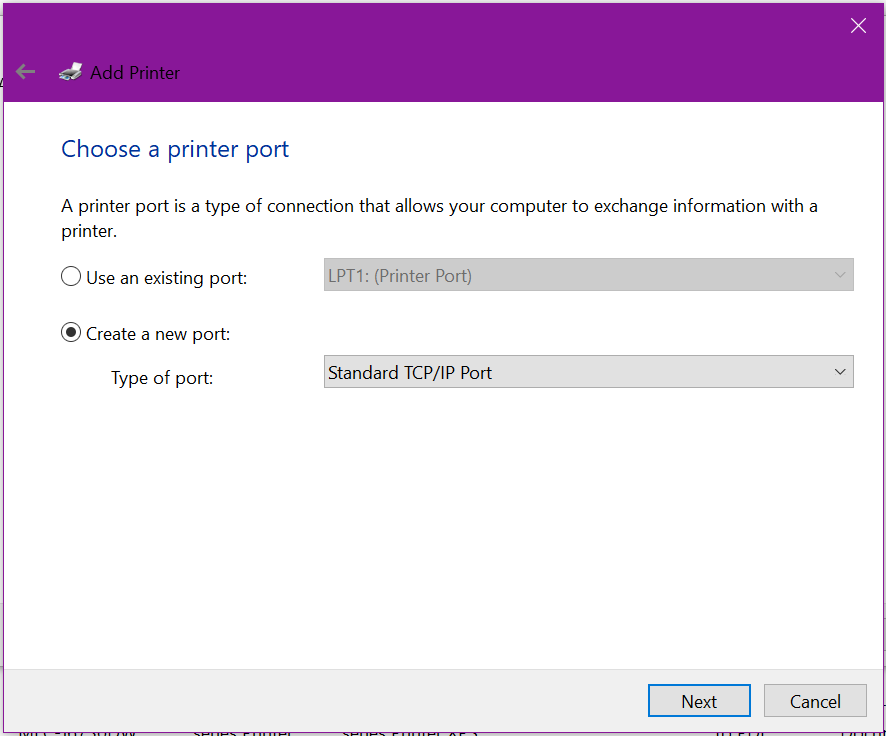
When choosing a printer port, select Create a new port and change the drop down list to Standard TCP/IP Port, click Next
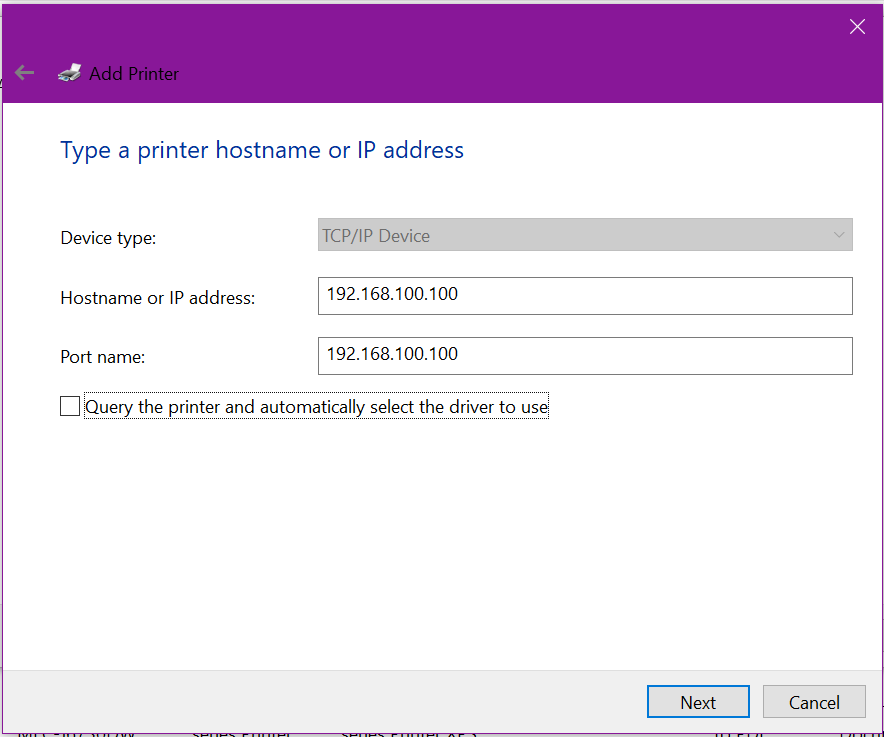
Enter in the fixed or reserved IP address of the printer, and un-tick the Query the printer for automatic installation
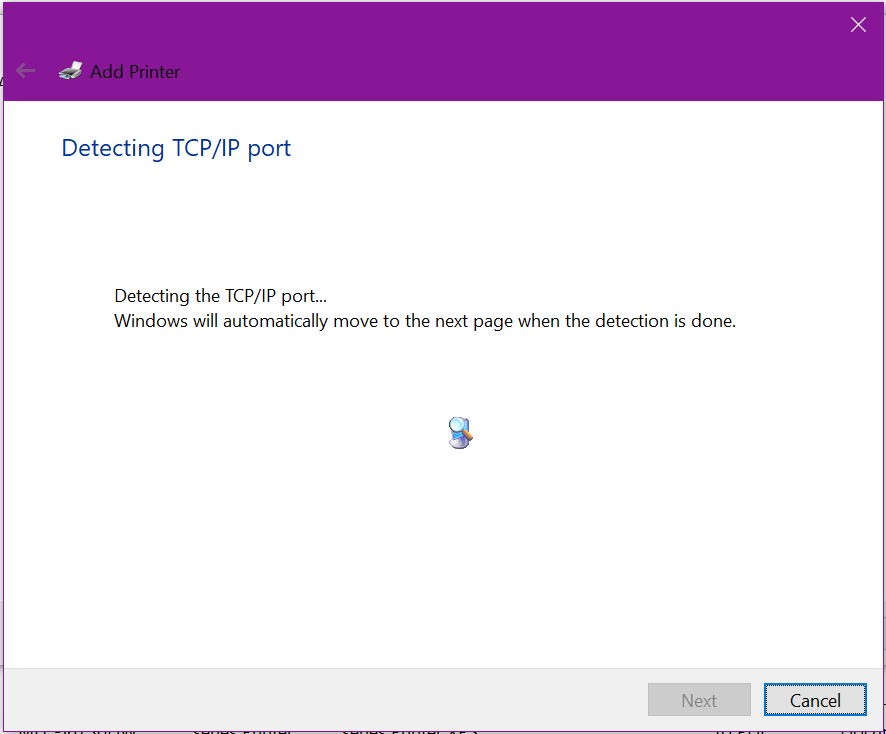
Windows will now check to see if it can communicate with the printer’s network stack and determine the available network protocols (SNMP, HP Discovery, etc).
Now we need to install the actual drivers, click Have Disk
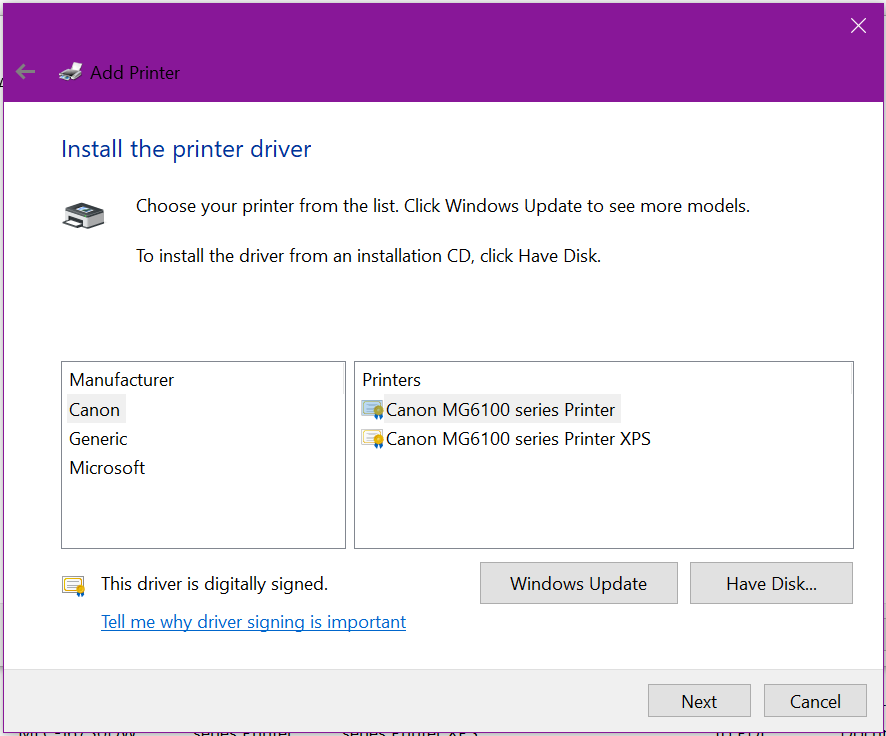
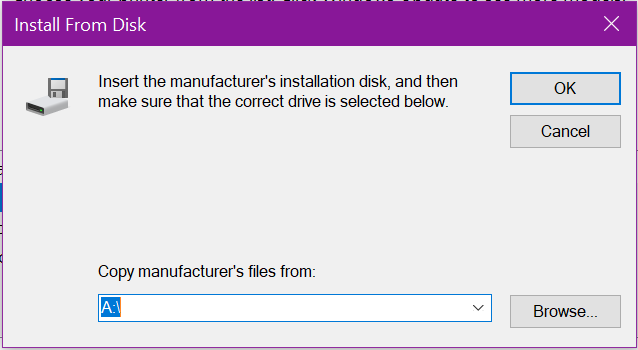
Click Browse and locate the folder where the 64 bit drivers were extracted to
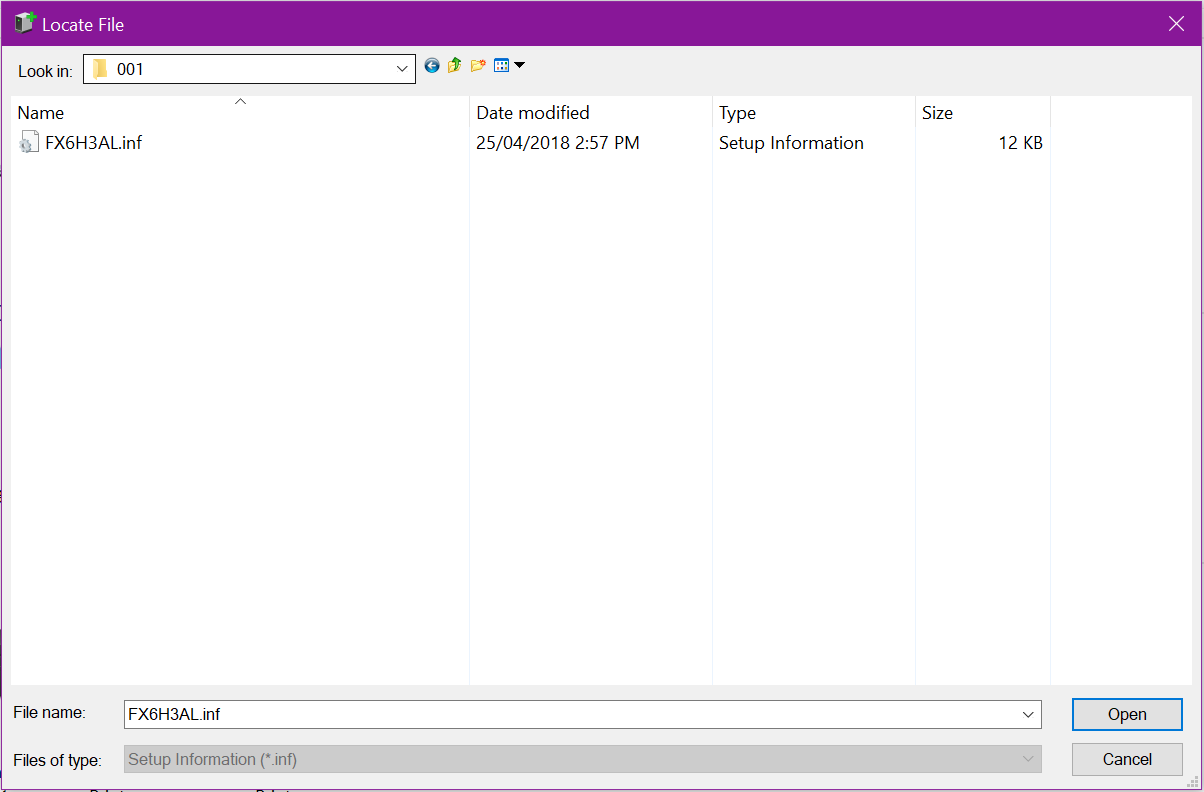
You may need to drill down into a fairly deep folder structure, like in this example to locate the valid driver information (INF) file. Click Open
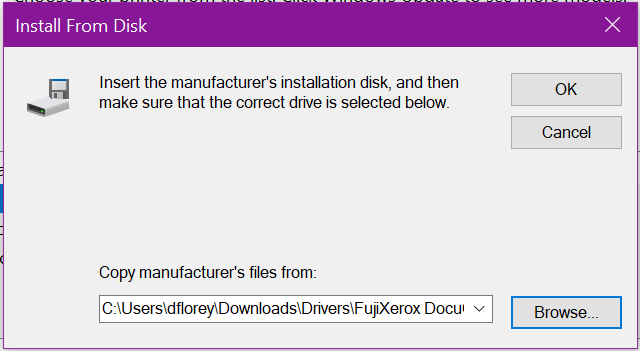
You will return here, where you can see the file path. Click OK
Typically, manufacturers will bundle drivers & support for multiple models of their printer for ease of production, so you will need to select the correct model & revision from the list to ensure you get all the correct features & settings available to your printer. Once selected, click Next
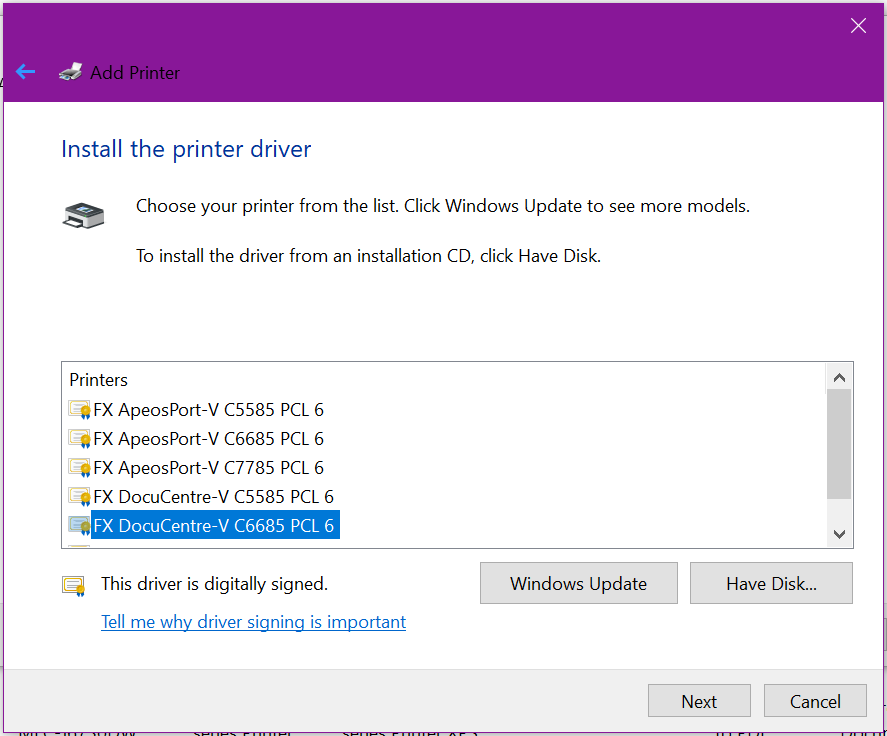
Give the printer a valid & meaningful name. If prompted to Share the printer to the network, un-tick this option as we’re not yet ready for this
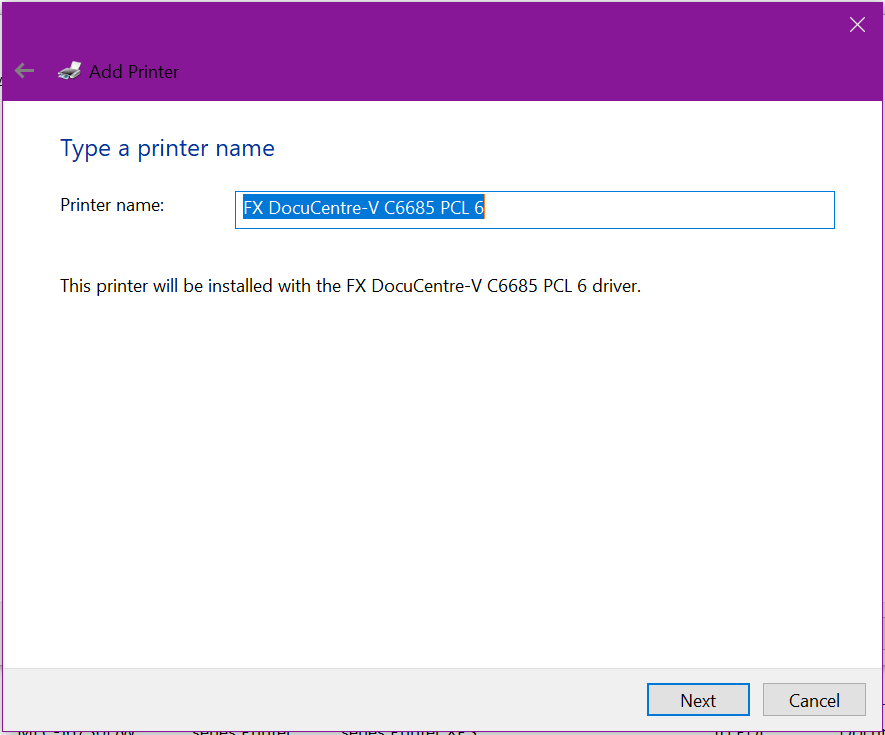
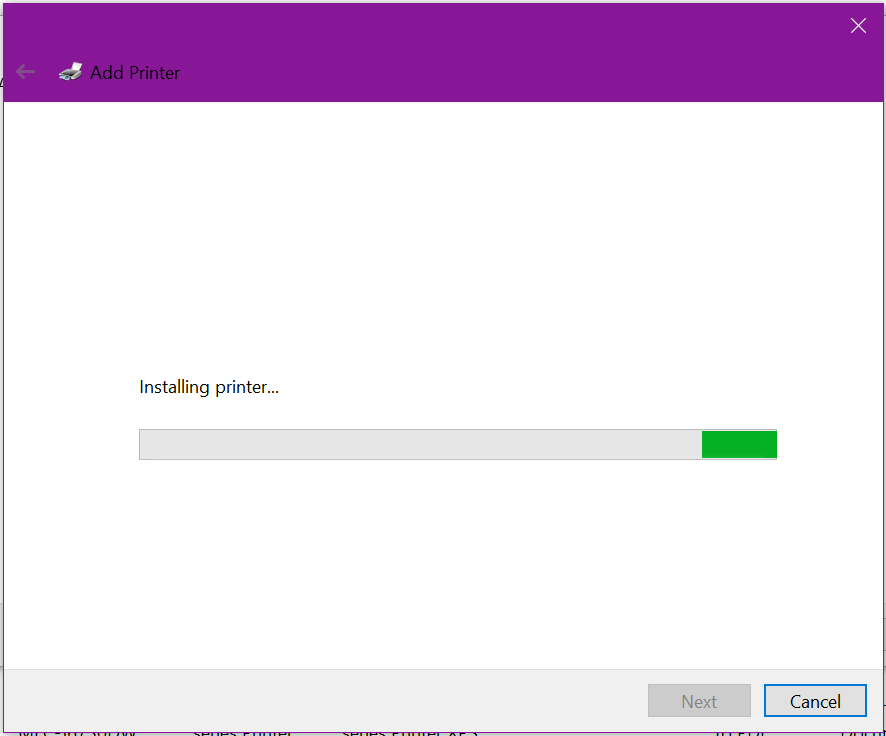
Windows will now install the drivers and add the new printer
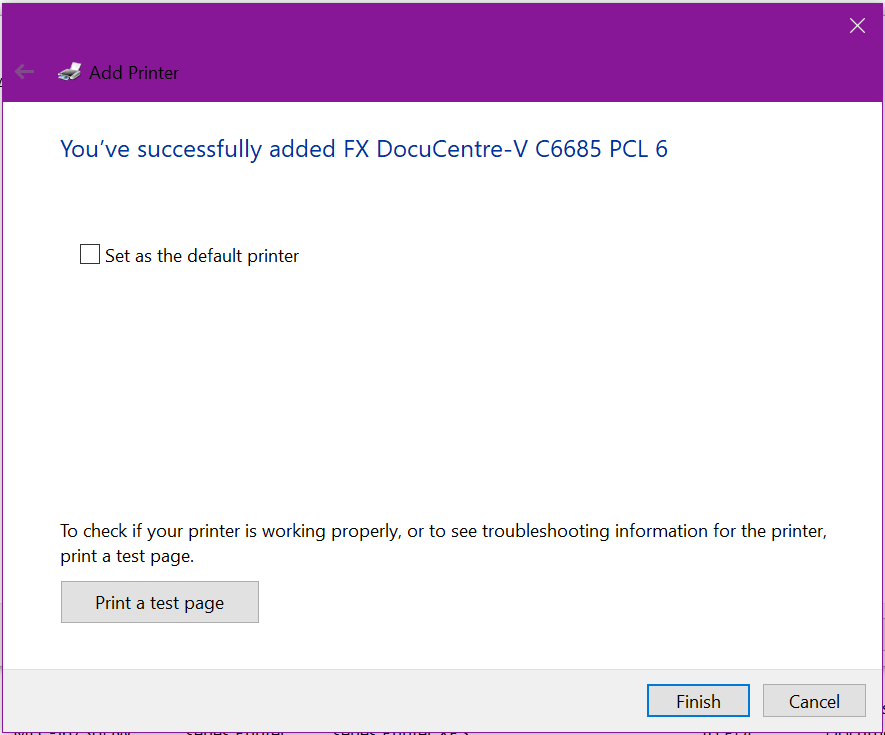
From here, click to Print a test page if there’s not many options on the printer, otherwise, click Finish.

Returning to the Control Panel > Devices and Printers, you will now see the newly installed printer.
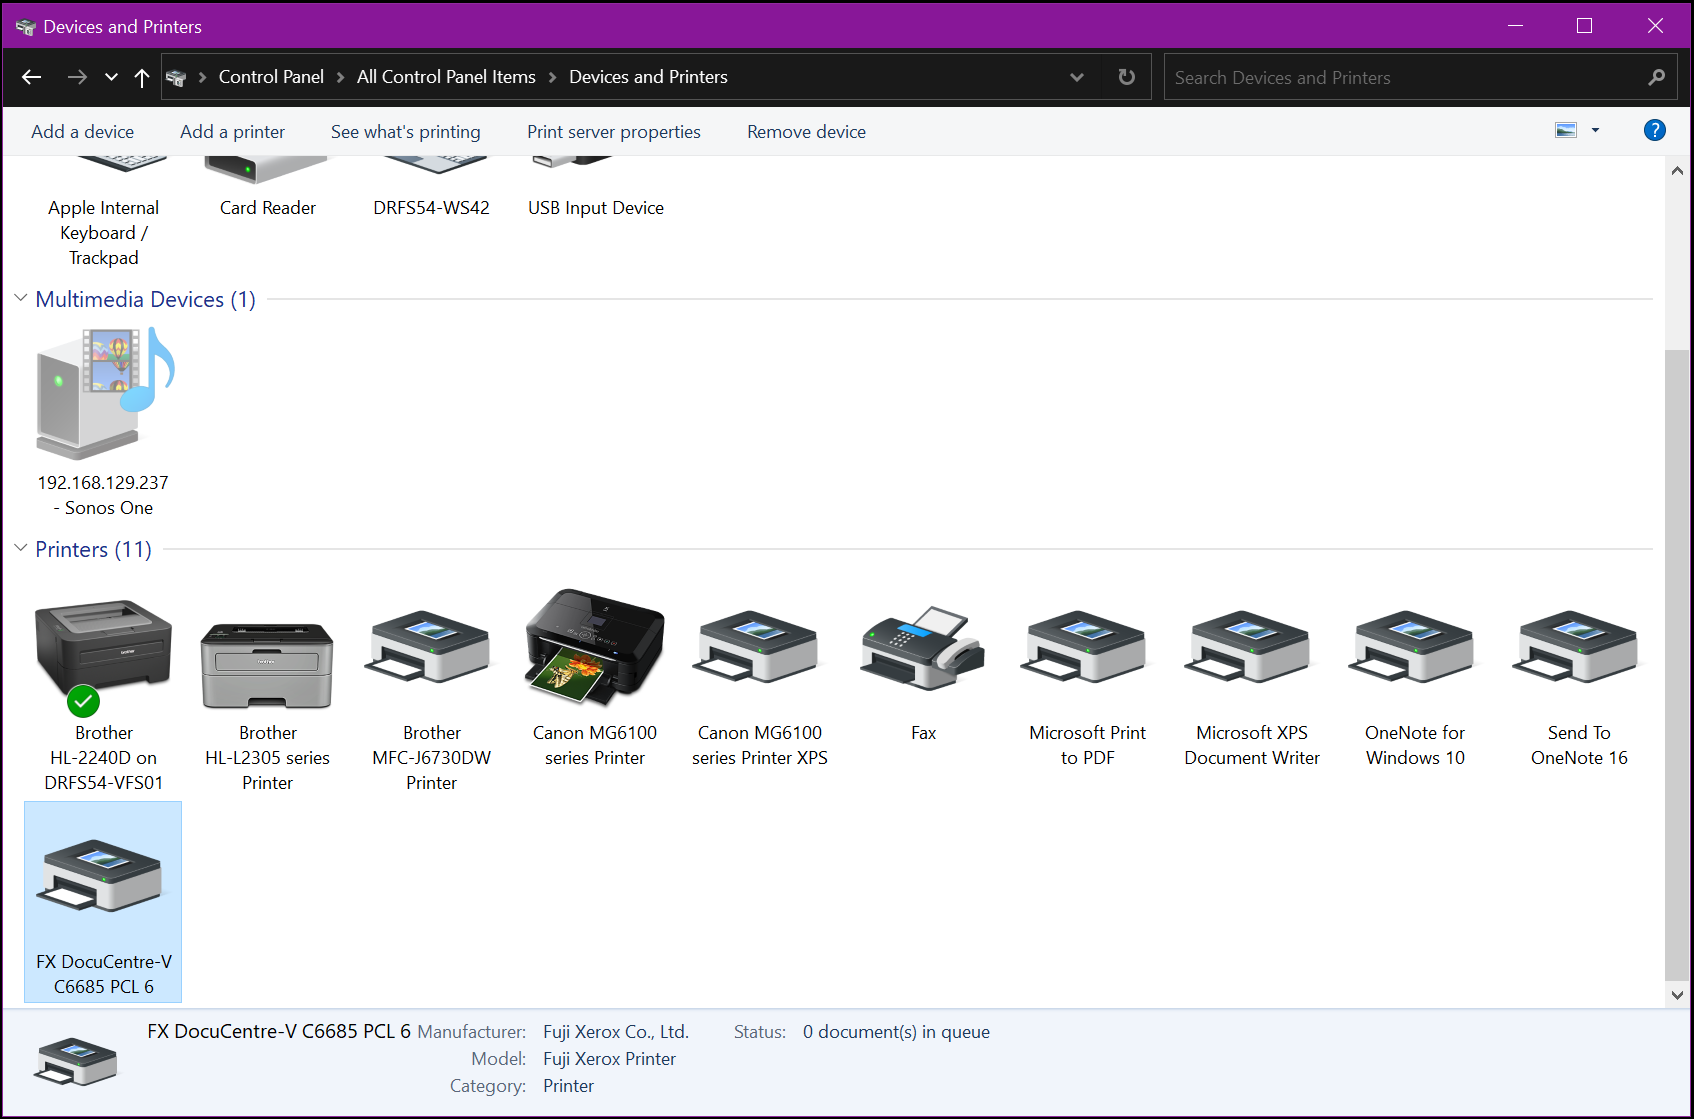
Now we want to install support for 32 bit Windows (and ARM64 if applicable / available). This is to ensure Windows 32 bit systems connecting to our server to access the printer will also receive automatic driver installation. Although 32 bit Windows is becoming far less common these days, doing this ensures in the long term, there’s little or no poor user experience or frustration when adding shared printers to their systems. It also helps when deploying printers via Group Policy that 32 bit Windows users don’t get prompted to install drivers on every logon until installed.
Right-click on the newly installed printer
Select Printer Properties from the contextual menu.
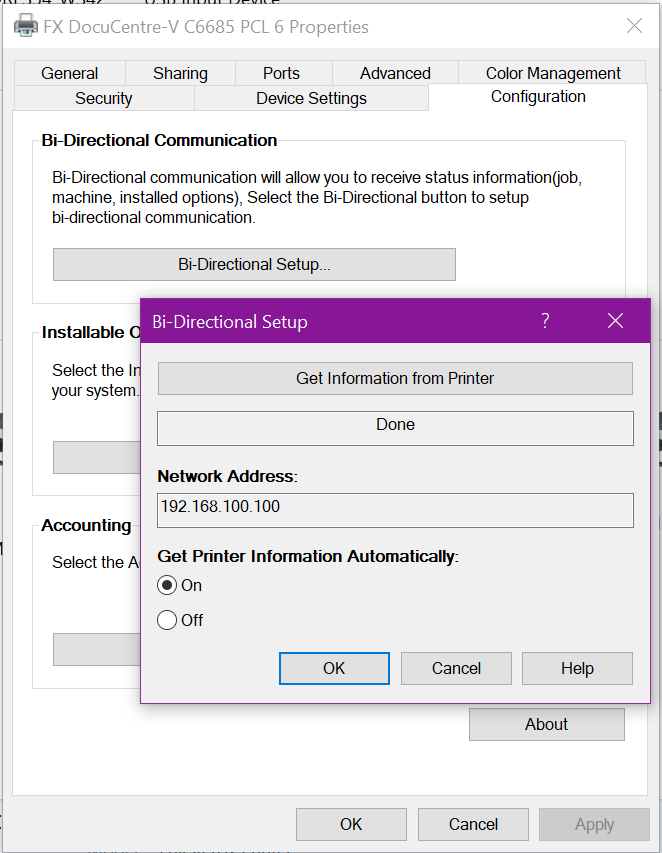
Many networked printers offer automatic device configuration in the form of two-way communication between the printer driver and the printer’s network stack. If this is an option, enable it and click the button appropriate to update the printer options.
In our FujiXerox example, this is called Bi-Directional setup – which is off by default, so turn this on, then click Get Information from Printer.
What this does: Tells the driver to communicate with the printer, requesting information such as: how many trays, what paper is in each tray, are their side car options or ‘finishers’, staplers, binders, folders, etc. The printer will respond to the driver and tell it what options are installed & available, and also consumable information such as paper & toner levels, etc. Once done, click Apply to save changes and update the configuration.
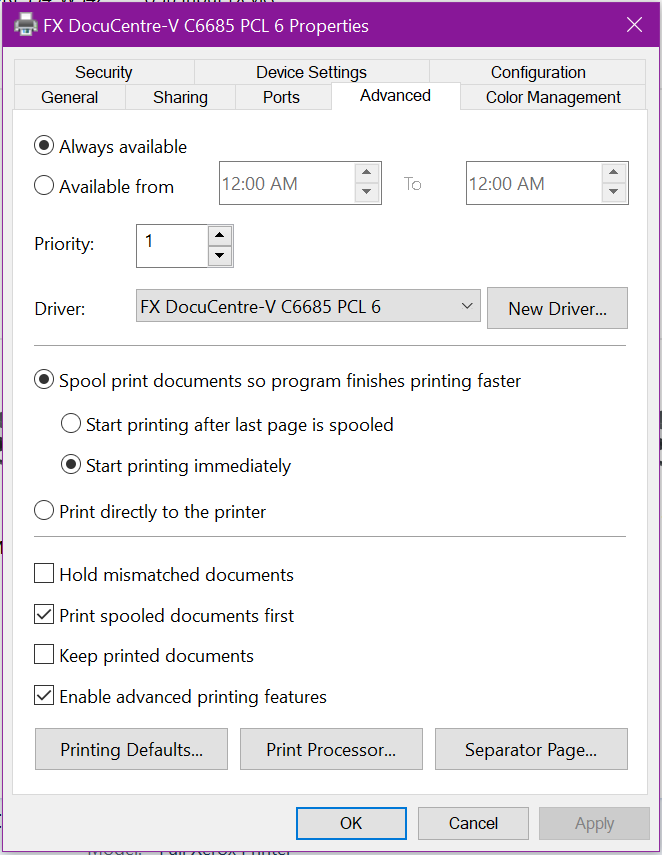
You can verify this worked by clicking Advanced, and Printing Defaults
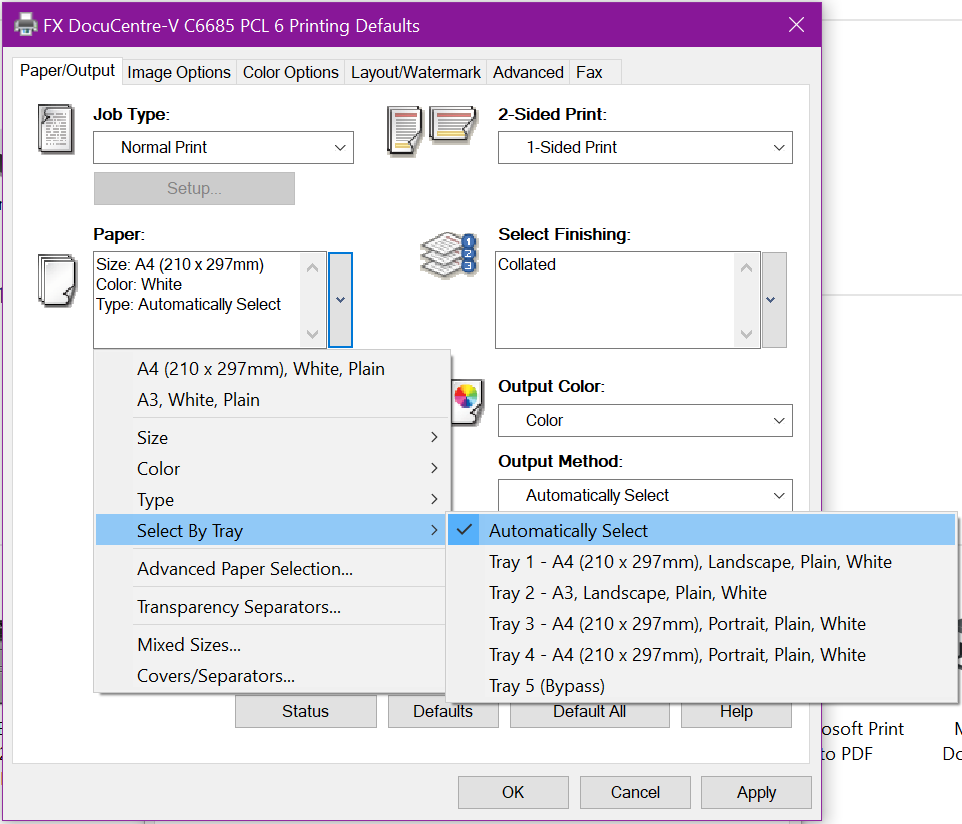
You’ll see tray options, paper sizes, color options, output options, etc.
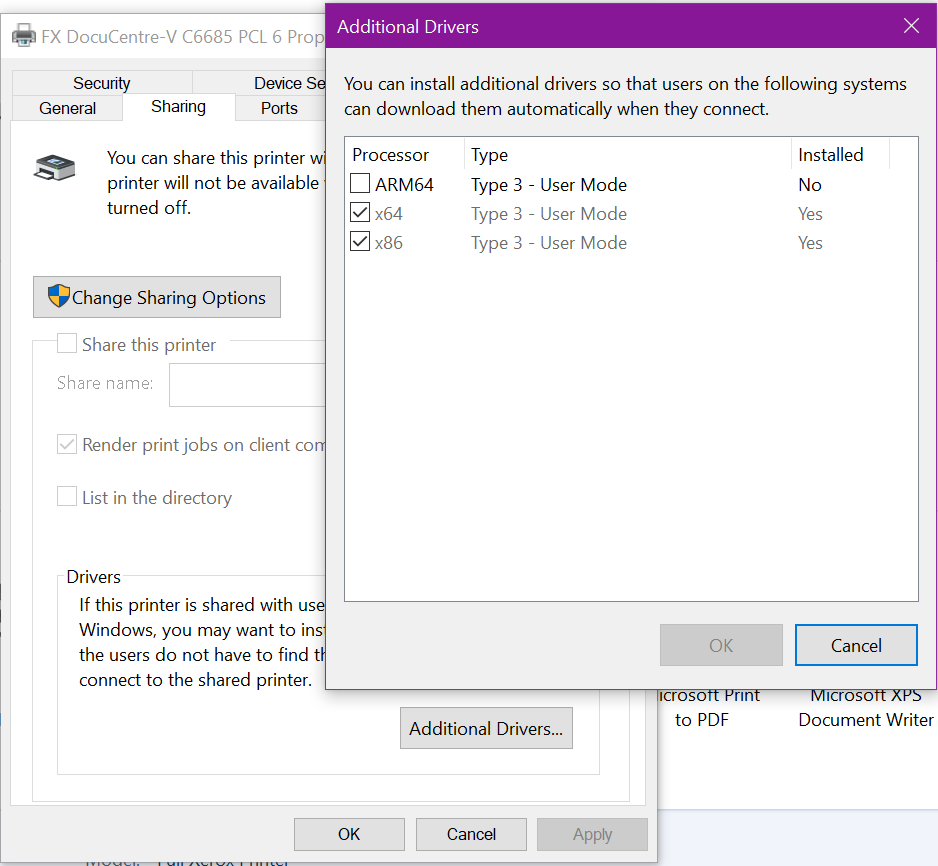
Now, head to the Sharing tab, click Additional Drivers.
Place a tick next to the additional drivers that you have downloaded (such as 32 bit) and click OK

This will prompt you to install them, like at the beginning, click browse to locate and install the appropriate drivers

Once located and selected, click OK
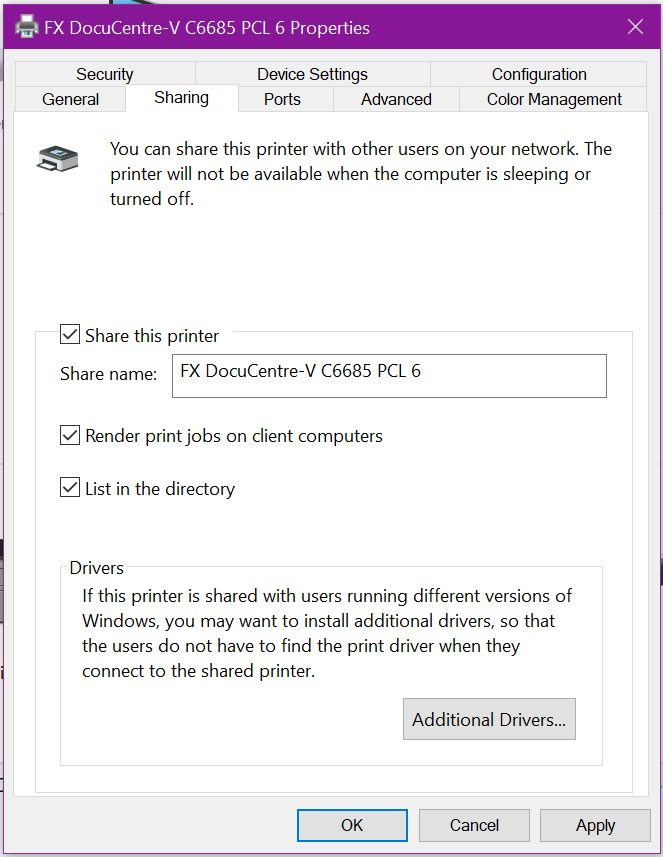
Finally, now you can Share out the printer. If the Windows PC or server sharing the printer is a member of Active Directory (or is the domain controller), tick the option to List in the directory – this will make is easier later in Group Policy to deploy.
Windows PC’s on the network (either AD authenticated, or pre-authenticated locally) can now browse the network share of this Windows Server and install the shared printer by simply double-clicking on it.